The advent of drone technology has ushered in a new era of aerial imaging possibilities, offering unique vantage points that were once the exclusive domain of highly expensive aerial equipment. This Drone Photography Settings Guide is designed to demystify the complexities of drone camera setup and equip both novices and seasoned professionals with the necessary aerial photography tips to capture breathtaking visuals from the skies. Whether pursuing artistic visions or commercial objectives, mastering drone camera setups is essential for tapping into the full potential of your aerial equipment.
From picturesque landscapes to urban scenes, commanding your drone with confidence is about much more than just piloting—it’s about understanding the myriad drone photography techniques that transform good images into great ones. We’ll dive into the intricate details of drone camera configuration, discussing ideal settings that can help you achieve clarity, color accuracy, and striking compositions, ensuring that you’re well on your way to mastering drone camera setups for stunning aerial imagery.
Understanding the Basics of Drone Cameras
At the heart of drone photography lies the delicate interplay between sophisticated technology and the artistic vision of the photographer. The optimal drone camera setup is not merely about default options; it’s about mastering the calibration of every available setting to match the vision you aim to capture. Achieving the best drone camera settings is crucial for those pivotal moments when you only have one chance to get that perfect aerial shot.
Importance of Camera Settings in Drone Photography
The distinction between amateur and professional drone imagery often boils down to the proficiency with which one maneuvers camera settings. A comprehensive drone photography settings guide is indispensable for capturing clarity, color fidelity, and the right exposure. With a reliable setup, you can turn any landscape into a picturesque marvel from the skies, leaving viewers in awe of the vantage point you’ve achieved.
Key Features of Popular Drones Like DJI Mavic 2 Pro
The DJI Mavic 2 Pro exemplifies excellence with its 20MP 1” sensor paired with the world-renowned Hasselblad camera. Its myriad of settings, including adjustable aperture, exposure compensation, and white balance, are a haven for enthusiasts. The inclusion of 4K video capacity ensures that every frame of your flight promises to be as visually arresting as the last, making it a formidable ally in your drone photography endeavors.
Raw/DNG vs. JPEG Formats
Forging ahead in the quest for impeccable quality, the choice between Raw/DNG and JPEG could indeed dictate the outcome. Shooting in RAW/DNG with the DJI Mavic 2 Pro, you unlock a treasure trove of post-processing capabilities, safeguarding the integrity of your exposure. The wealth of data within each RAW file overshadows JPEG’s compressed convenience, offering a dynamic range that serves as a canvas for your creative finishing touches.
Optimizing Manual Drone Photography Settings
As aerial photography enthusiasts continue to soar to new heights, understanding and optimizing manual drone photography settings become critical to capturing breathtaking imagery. Mastery over ISO, shutter speed, and aperture not only elevates the quality of your still shots but also enhances your overall drone photography techniques. Here we delve into the intricacies of adjusting these settings to ensure your aerial photographs are nothing short of spectacular.
ISO, Shutter Speed, and Aperture Explained
The three pillars of manual drone photography settings are ISO, shutter speed, and aperture. These settings work in unison to influence the exposure and quality of your photographs. ISO controls the camera sensor’s sensitivity to light – a lower ISO number means less sensitivity and finer grain, which is typically desired to minimize noise and maintain image clarity. Shutter speed dictates how long the camera’s shutter remains open to let in light; a faster speed is crucial to prevent blurring in dynamic aerial shots. Lastly, aperture adjusts the lens’ opening, affecting the amount of light that hits the sensor as well as depth of field. Although most drones have a fixed aperture, knowing how it interacts with ISO and shutter speed helps in achieving desired results especially if your drone camera supports this adjustment.
Achieving Proper Exposure with the Exposure Triangle
To create well-balanced drone photography, it’s essential to understand the exposure triangle – the relationship between ISO, shutter speed, and aperture. This balance is particularly important in manual drone photography settings where the photographer must adjust their drone camera settings manually to react to different lighting conditions. For starters, using an ISO of 100, a shutter speed of 1/60th of a second, and an aperture around f/4.0 often yields well-exposed shots during daylight. Yet, understanding how to adjust drone camera settings in various environments allows for greater creative control and the ability to produce high-quality images under challenging lighting conditions.
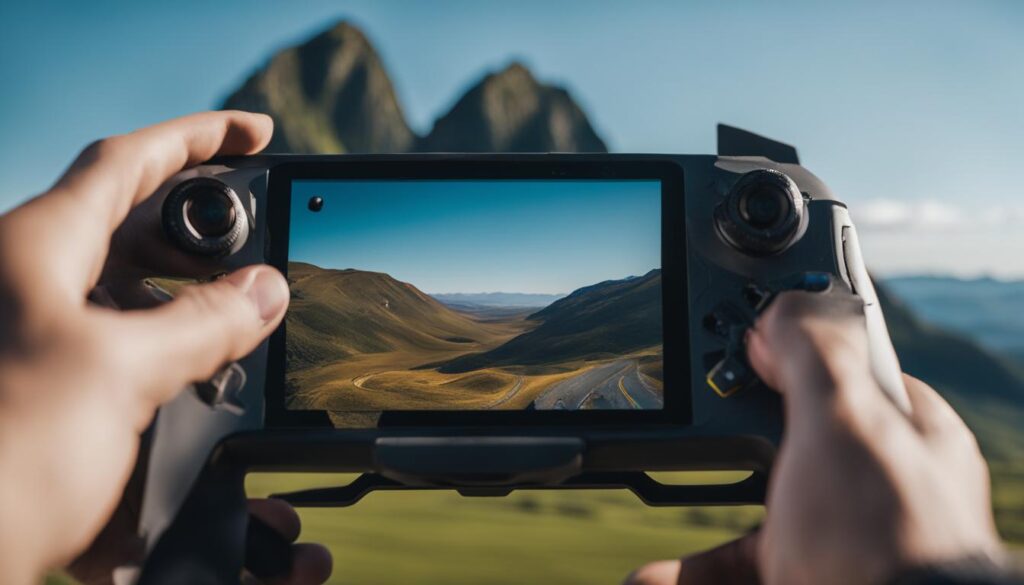
Mastering how to adjust drone camera settings is a journey of continuous learning and practice. Whether you’re sweeping over vast landscapes or zooming into the intricate textures of an urban setting, each situation may require a unique combination of these manual settings to nail the perfect shot.
Below is an easy reference table for adjusting your manual drone photography settings based on the lighting conditions:
| Condition | ISO | Shutter Speed | Aperture (if adjustable) |
|---|---|---|---|
| Bright Daylight | 100 | 1/1200 | f/4.0 |
| Golden Hour | 200 | 1/600 | f/4.0 |
| Overcast | 400 | 1/300 | f/4.0 |
| Low Light | 800+ | 1/60 | f/2.8 |
Delivering stellar images through manual drone photography settings is an art balanced by the science of exposure. Knowing how to adjust drone camera settings is crucial, but ultimately, it’s the photographer’s eye that will seize the moment and encapsulate it from the sky’s unique vantage point – utilizing drone photography techniques to their fullest potential.
Mastering White Balance and Color Profiles
For any aspiring drone photographer aiming to rise above the commonplace, understanding the nuanced interplay of white balance and color profiles is indispensable. When the conversation orbits around drone photography settings guides, these elements stand as twin pillars that undergird the grand edifice of aerial photography tips. Not only do they critically influence image temperature and mood, but they are also key in pinning down what may be considered the best drone camera settings for capturing the authenticity of the moment.
White balance is the cornerstone for conveying a scene’s genuine chromatic ambiance. It redirects the color palette to ensure that whites are pure, benchmarking the authenticity of all other colors in the photo. Although for RAW format aficionados, the convenience of auto white balance beckons, as post-production software adeptly makes requisite calibrations, JPEG purists must tread more deliberately, choosing preset values like ‘daylight’ or ‘cloudy’ to encapsulate the true essence of the light within their frame.
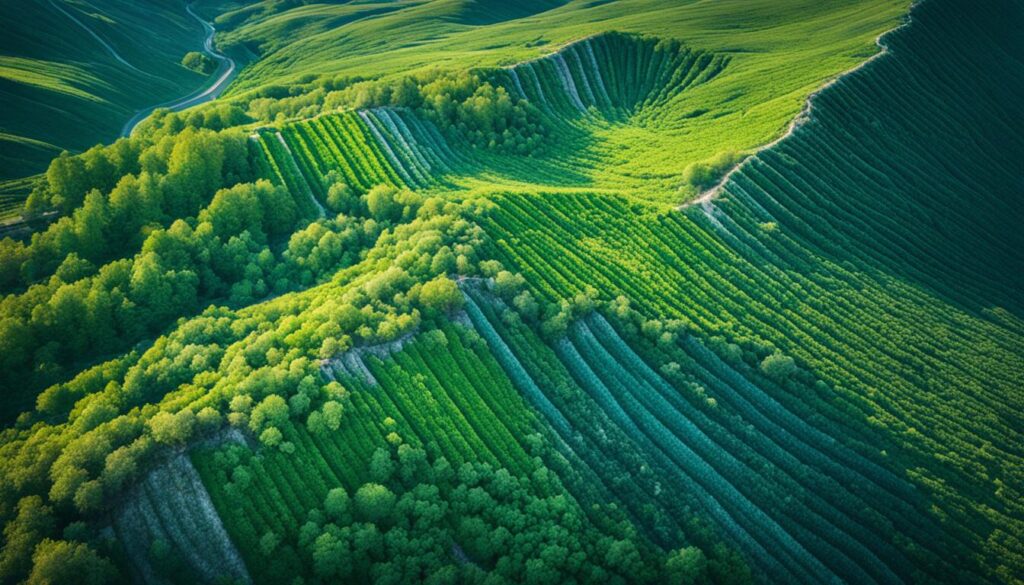
Subsequently, color profiles emerge as the master artists’ palette, allowing videographers to splash their aerial canvas with either “true-to-life” hues or a more subdued spectrum earmarked for post-shot creativity—witness the versatility of DLog-M. These profiles often serve as a drone operator’s silent narrative tool, subtly swaying the viewer’s emotional response to the captured footage.
| White Balance Setting | Use Case |
|---|---|
| Auto | Best for RAW shooting; offers flexibility in post-processing |
| Daylight | Ideal for bright, clear days to maintain color consistency |
| Cloudy | Enhances warm tones, compensating for overcast conditions |
In conclusion, discerning use of these critical camera settings forms the bedrock of expert drone imagery. As a drone operator, the onus is on you to not only capture a scene but to immortalize the tapestry of light and color it unveils, thereby achieving a transcendent visual harmony that engenders unparalleled viewer engagement.
The Role of ND Filters in Enhancing Drone Photos
For drone enthusiasts aiming to refine their aerial imagery, understanding the use of Neutral Density (ND) filters is quite transformative. In the realm of drone photography, these filters emerge as one of the most valuable drone accessories due to their ability to manipulate light and enhance image quality. We dive deep into what makes ND filters essential in a drone photography settings guide and how to tailor drone camera configuration for different lighting scenarios.
When and How to Use ND Filters
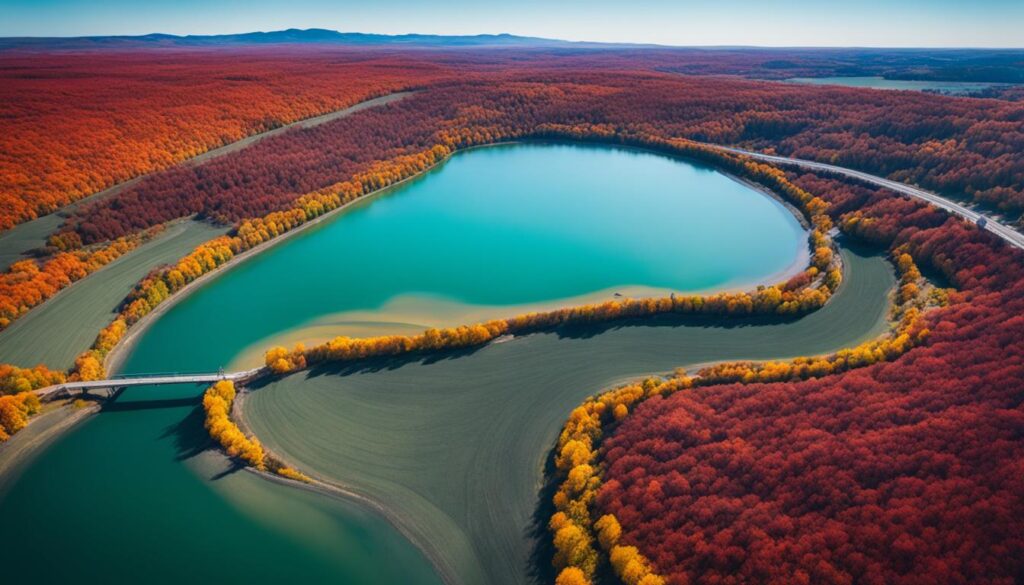
ND filters are your best ally when facing bright lighting conditions that can cause overexposure in your drone photos. They are akin to sunglasses for your drone camera, subtly reducing the light entering the lens. As a result, you can maintain wider apertures or embrace slower shutter speeds, paving the way for a creative depth of field and stunning motion blurs—hallmarks of professional drone shots. In particular, during midday or when capturing scenes with reflective surfaces such as water or snow, ND filters prove to be irreplaceable.
Choosing the Right ND Filter for Your Drone
Selecting the ideal ND filter is not simply a matter of preference but involves a calculated decision based on the shooting environment. Here, we’ll compare different ND filter strengths and their appropriate use cases to ensure that you can make an informed choice.
| ND Filter | Light Reduction | Use Cases |
|---|---|---|
| ND4 | 2 Stops | Overcast conditions or low-light environments at dawn and dusk |
| ND8 | 3 Stops | Partially cloudy days that present mild sunlight exposure |
| ND16 | 4 Stops | Days when the sun is more prominent and produces stronger lighting |
| ND32 | 5 Stops | Scenarios involving harsh sunlight or when shooting near large bodies of water |
| ND64+ | 6+ Stops | Extremely bright conditions requiring substantial light reduction for creative effects |
It’s important to match the ND filter strength with the Polar Pro Mavic 2 Cinema Series or other reputable brand filters that correspond to your drone model, like the DJI Mavic 2 Pro, to ensure maximal image clarity and color fidelity. Among the most valuable drone accessories, ND filters significantly upgrade your drone camera configuration, effortlessly elevating your aerial photography game.
Drone Photography Settings Guide for Various Shooting Scenarios
Exploring the realm of drone photography uncovers a plethora of opportunities for capturing unique visuals. Depending on the scenario, the drone camera settings need meticulous adjustments. A comprehensive understanding of these settings is the linchpin for seizing spectacular shots that truly encapsulate the essence of the subject, whether it be gleaming real estate façades or expansive natural landscapes.
Tips for Capturing Vivid Real Estate Photos
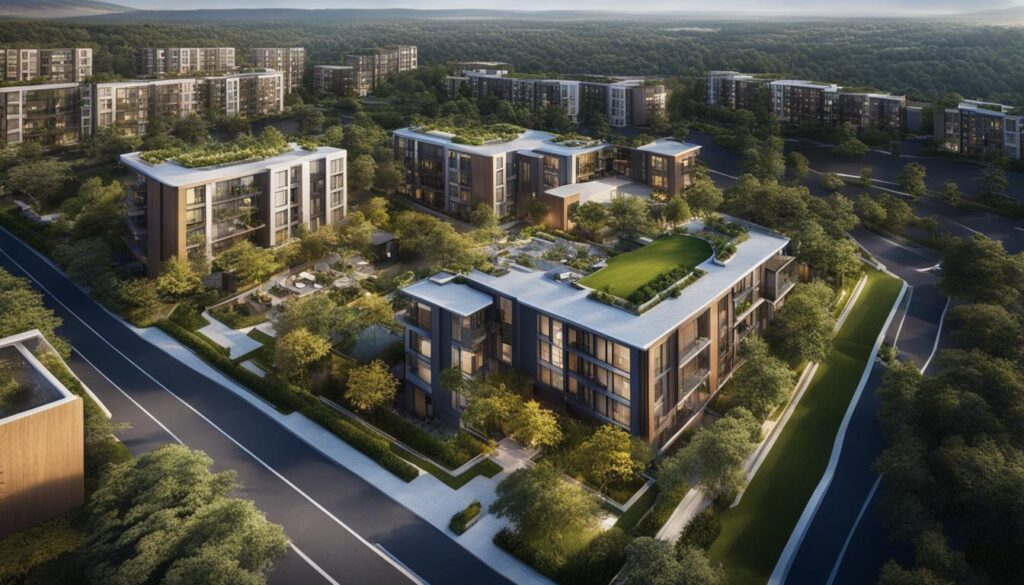
To capture real estate photos that truly pop, there are a number of aerial photography tips to bear in mind. High-resolution settings and a lower ISO will ensure crisp images, while an aperture between f/2.8 and f/5.6 usually provides enough depth for a sharp image across the property. Correcting the white balance according to the time of day, and employing HDR modes if available, can highlight the architectural features and surroundings of the estate. The golden hour, with its warm, diffused light, is an optimal time for such photography.
Settings Adjustments for Landscape and Wildlife Imagery
In the world of landscape and wildlife photography, the best drone camera settings are those that balance detail and clarity without spooking the fauna. Scene detail is maximum with aspect ratios like 4:3, and for moving wildlife, a faster shutter speed is vital to freeze the motion. Using a polarizing filter might enhance natural colors and reduce glare. Slight overexposure by 1/3 of a stop can be beneficial in post-processing, ensuring that the shadows retain detail without being lost in the darkness.
Essential Drone Camera Modes for Creative Control
Exploring the world of aerial imaging requires a keen understanding of drone camera modes, which can dramatically influence the outcome of your photographs. Critical to any drone photography settings guide is the ability to adapt and toggle between different capturing modes. Whether you’re interested in halting motion in time or crafting a scenic vista with perfect depth, knowing how to adjust drone camera settings for the mode conducive to your objective is paramount.
Take for instance, the DJI Mavic 2 Pro, whose manual mode grants the photographer meticulous command over the exposure triangle. Conversely, aperture priority automates shutter speed, while shutter priority delegates aperture control, all in a concerted effort to deliver the intended artistic expression. Here’s a quick walkthrough of key camera modes:
| Camera Mode | Primary Use | Advantages |
|---|---|---|
| Manual (M) | Complete creative control of exposure | Adjust ISO, aperture, and shutter speed independently to suit the diverse lighting conditions |
| Aperture Priority (A or Av) | Depth of field control while maintaining correct exposure | Set the aperture to control the depth of field; drone automatically sets the shutter speed |
| Shutter Priority (S or Tv) | Motion blur control for dynamic or fast-paced scenes | Choose shutter speed to freeze or blur motion; the drone adjusts the aperture |
| Program (P) | Quick shots with balanced exposure settings | Camera selects both aperture and shutter speed for a good exposure |
| Auto | Beginner-friendly, quick snapshots | The drone manages all exposure settings, ideal for users learning the craft |
| Tripod Mode | Stable, slow-motion shots with precision | Reduces drone speed for enhanced stability, captures detail-intensive images |
| Sports Mode | Capturing high-speed subjects or sweeping landscapes | Enables higher drone speeds, suited for tracking fast-moving objects or sports |
Employing drone camera modes effectively can broaden your creative horizons and provide the flexibility needed to adapt to ever-changing elements within aerial photography contexts. It’s vital, as a drone enthusiast, to familiarize yourself with each mode’s intricacies and benefits to propel your drone imagery to new heights.
Advanced Techniques: HDR and Exposure Bracketing
Embracing advanced drone photography techniques can considerably improve the caliber of your aerial imagery, specifically through the utilization of HDR drone photography. This enhanced approach enables photographers to navigate the innate dynamic range limitations of drone cameras efficiently. Leveraging methods like Auto Exposure Bracketing (AEB) not only optimizes the dynamic range of photographs but also significantly elevates the visual stories told from the skies.
Utilizing AEB for Higher Dynamic Range
By learning how to adjust drone camera settings to employ AEB, multiple exposures at varying levels are captured—each addressing different parts of the light spectrum. The distinction in exposures allows AEB to document a comprehensive array of shadows and highlights, which when merged, yield a picture with a richness and depth unattainable in a single shot. In the latest drones, such as the Mavic 3 Classic, the AEB mode is adept at snapping between 3 to 5 bracketed shots almost instantaneously, minimizing the time spent in post-production.
Merging Bracketed Exposures for Optimal Quality
Post-processing software has become integral to HDR drone photography, with programs like Lightroom providing the tools needed to amalgamate the bracketed exposures into a singular, dynamic image. Each exposure contributes a layer of detail, from the darkest shadows to the brightest highlights, ensuring that the full tonal range is represented. This technique guarantees that the finalized photographs mirror the original scene with greater accuracy and detail.
| Feature | Benefit | Recommended Use |
|---|---|---|
| HDR Imaging | Increased detail in highlights and shadows | Landscape and urban scenes with contrasting lighting |
| AEB Mode | Multilayered exposure capturing | Dynamic range enhancement for complex lighting |
| Bracketed Exposure Merging | Comprehensive tonal detail | Scenes with a high degree of light variability |
Videography with Drones: Settings for Smooth Footage
As drone enthusiasts increasingly turn to videography, knowing the drone videography settings is critical for capturing cinematic quality smooth drone footage. With various models on the market, such as the DJI Mavic 2 Pro, understanding how to calibrate your drone’s camera can make a dramatic difference in the output of your video projects.
Choosing the Right Frame Rate and Resolution
To achieve that professional film look, selecting the right frame rate is one of the first steps in your drone photography settings guide. A rate of 30 frames per second (FPS) is often recommended, providing increased smoothness and helping to stabilize any irregular movement during flight. The higher the resolution, the more detail is captured; hence, to not compromise on quality, shooting in 4K HQ resolution with drones, despite reducing flight times, will yield remarkable detail in your final footage.
How to Achieve Natural Motion Blur in Videos
The proverbial ‘cinematic look’ is often defined by its natural motion blur, which replicates the way the human eye perceives movement. To accomplish this when filming with drones, it is essential to maintain a shutter speed that is double the frame rate. For example, when shooting with a DJI Mavic 2 Pro at 30 FPS, setting the shutter speed to 1/60th of a second will deliver smooth, engaging video that seems true to life.
Conclusion
The journey through mastering drone camera setups is one that intertwines the precision of technical skills with the boundless realm of creativity. The expansive skies become a canvas, awaiting the brushstrokes of aerial photographers who command the drone photography settings guide like a maestro. With the evolvement of drone technology, photographers and videographers have been gifted a transcendent tool that not only enhances their professional portfolio but also amplifies the sheer enjoyment inherent to the craft.
The Interplay of Creativity and Technical Skills in Drone Photography
As we’ve seen, adeptness in drone camera configurations is not solely about understanding the mechanics of flight or memorizing manuals. It is about using those technical skills as a foundation to elevate creativity, allowing one to unveil novel vistas and narratives from the skies. The intricate balance of shutter speeds, ISO levels, and color profiles is as much an art as it is a science. The mastery of these competencies transforms ordinary scenes into extraordinary spectacles, underscoring the magic of professional and fun drone photography.
Emphasizing the Fun and Satisfaction in Mastering Drone Photography Settings
Indeed, it is the joy of manipulating the drone controls against a backdrop of a beautiful panorama that holds a photographer mid-air—figuratively and literally. The gratification derived from creating impeccable imagery, with each elevation and turn honed by personal touch through custom settings, is unmatched. Whether for those who have made a career out of capturing the ethereal or those hobbyists who find solace in the skies, the satisfaction in mastering drone photography settings is undeniably profound. As devotees of this evolving domain, the potential for new techniques and visuals is as limitless as the horizon itself.
FAQ
Q: What are the key camera settings for drone photography?
A: Key camera settings for drone photography include ISO, shutter speed, aperture, white balance, color profiles, and specific modes like aperture priority and manual mode. Additionally, utilizing ND filters and advanced techniques like HDR can enhance your imagery.
Q: How do camera settings impact the quality of drone photographs?
A: Camera settings directly affect the sharpness, clarity, exposure, and color balance of your photographs. Mastering settings such as ISO, aperture, and shutter speed helps in reducing noise, controlling the amount of light, and achieving sharp, well-exposed images.
Q: What are the advantages of shooting in RAW/DNG over JPEG with a drone camera?
A: Shooting in RAW/DNG format preserves more image information, offering greater flexibility for post-processing. JPEG files are compressed and have less data to work with during editing, making RAW/DNG the preferred format for professional-quality results.
Q: Why is manual adjustment of drone photography settings important?
A: Manual adjustment of drone photography settings gives the photographer full creative control to fine-tune the camera parameters for the best exposure and clarity in various lighting conditions, which is something that automatic modes may not always accurately achieve.
Q: When should ND filters be used in drone photography?
A: ND filters should be used in bright lighting conditions to prevent overexposure, enabling the photographer to maintain optimal aperture and shutter speed settings. They are essential for capturing smooth video footage and dynamic images without the glare of harsh light.
Q: What settings should you use for real estate and landscape drone photography?
A: For real estate photography, settings should enhance the property’s vividness and appeal, balancing high resolution with correct exposure and color accuracy. Landscape photography settings should capture the scale and detail of natural scenes, using a larger aspect ratio to encompass as much detail as possible.
Q: How do different drone camera modes influence photo outcomes?
A: Different drone camera modes such as aperture priority, shutter priority, and manual give photographers the ability to manipulate depth of field, motion blur, and overall exposure for desired creative effects. The mode selected will depend on the photographic intent and the environmental conditions.
Q: How does Auto Exposure Bracketing (AEB) enhance the dynamic range in drone photos?
A: AEB takes multiple shots of the same scene at different exposures which can then be merged into an HDR image, resulting in photos that have a more balanced exposure with details in both light and dark areas, overcoming the limited dynamic range of drone cameras.
Q: What are the best settings for drone videography to achieve smooth footage?
A: For smooth drone footage, it is recommended to select a high-resolution setting like 4K and a frame rate of at least 30 FPS for fluid motion. Shutter speed should ideally be double the frame rate to maintain natural motion blur. Manual mode is preferred for greater control.
Q: How do technical skills and creativity interplay in drone photography?
A: Technical skills are necessary for understanding and adjusting camera settings precisely, while creativity is vital for visualizing and capturing unique images and videos. Together, they enable drone photographers to fully express their vision through high-quality aerial photography.
Leave a Reply