Unmanned aerial vehicles or drones have revolutionized photography, surveillance, and leisure activities with their ability to ascend skies with poise and precision. However, these sophisticated devices are not impervious to technical troubles. Understanding the techniques for repairing common drone issues is crucial for both hobbyists and professionals seeking uninterrupted aerial exploits. In this guide, we accentuate the importance of drone troubleshooting and provide actionable advice on how to fix drone problems efficiently, aiming to solve drone malfunctions that can often impede flight.
Whether you are confronting erratic flight patterns, connectivity issues, or hardware hiccups, the path to resolution often begins with identifying and troubleshooting drone glitches. Taking a methodical approach not only ensures the longevity of your drone but instills a deeper comprehension of its operation, enabling you to fix common drone errors with confidence. Let’s embark on this journey of technical acumen, equipping you with the knowledge to maintain smooth, uninterrupted flights and superb performance from your high-flying companion.
Understanding Your Drone’s Basic Components and Functions
To proficiently fix drone problems and apply effective drone repair tips, a solid grasp of your UAV’s anatomy is indispensable. This knowledge not only aids in troubleshooting drone glitches but also in preventing them. The crucial components of a drone include its propellers, motors, batteries, controllers, and firmware, with each part playing a specific and important role in the drone’s overall performance.
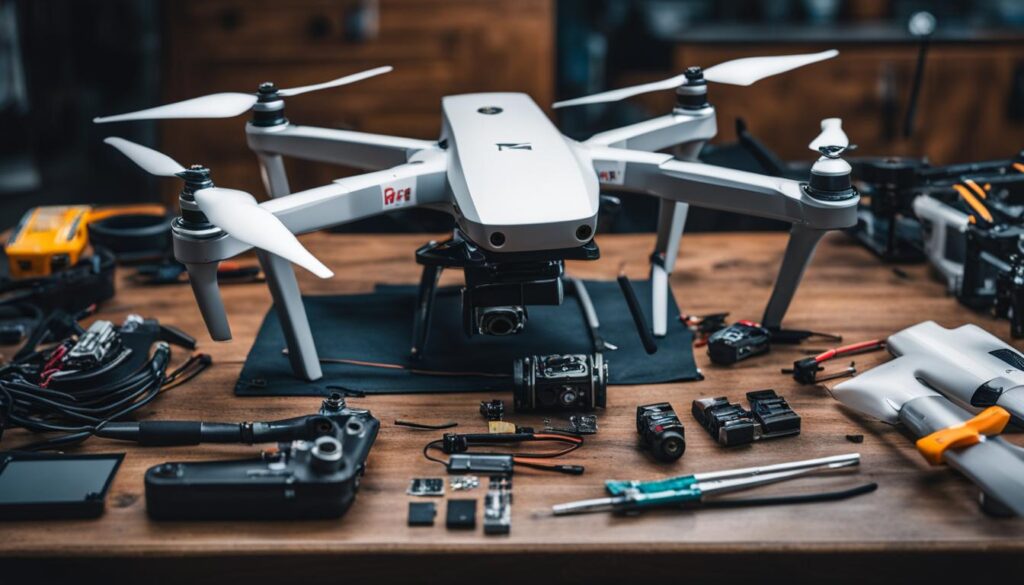
Propellers are essential for lift and maneuverability. When they’re damaged or not functioning correctly, the drone may experience flight instability or inefficiency. Motors drive the propellers, and if they are faulty, the propellers won’t spin at the correct speed, leading to poor handling. The battery functions as the drone’s power source; a defective battery not only shortens flight times but can also pose a fire hazard. The controller is the communication bridge between the pilot and the drone; any interruptions can lead to loss of control. Lastly, the firmware governs the drone’s behavior; outdated firmware can lead to performance issues and bugs.
Here’s a quick guide to assist drone enthusiasts in inspecting their UAVs:
- Assess the propellers for cracks or bends before and after flights.
- Check the motors for excessive heat or unusual sounds.
- Maintain the battery’s health with regular charging and storage practices.
- Test the controllers for responsiveness, ensuring they are properly charged and free from damage.
- Regularly update the drone’s firmware to the latest version for optimal functionality.
Understanding these components and their functions not only empowers drone owners to keep their UAVs running smoothly but also enables them to diagnose and fix drone problems with accuracy and confidence. Armed with these drone repair tips, maintaining your drone’s functionality can be a straightforward and rewarding process.
Diagnosing Battery Performance and Replacement
Unraveling the intricacies of battery health is pivotal for continuing your aerial endeavors without unexpected interruptions. Proactively identifying the tell-tale signs of a failing battery can save you from the frustrations of mid-flight power losses and unforeseen drone malfunctions. This essential knowledge empowers drone enthusiasts to fix drone problems efficiently and minimize the risks associated with poor battery performance.
Signs of a Failing Drone Battery
A drone battery nearing the end of its life cycle is not just an inconvenience—it’s a liability that can lead to significant reduce in flight time and potentially dangerous flight instabilities.
- Unexpected decrease in flight duration
- Power fluctuations and erratic behavior during operation
- Visible bloating or deformation of the battery casing
- Failure to hold charge as indicated by the battery management system
- Overheating during charging or discharging cycles
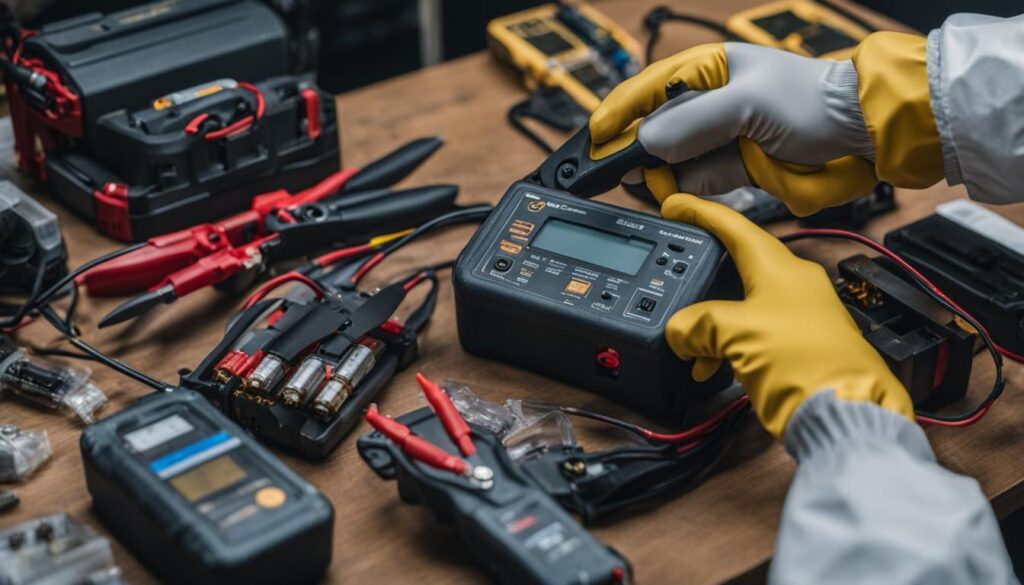
Recognition of these symptoms is essential in the timely decision to either solve drone malfunctions by repairing the battery or determining when a replacement is non-negotiable for safety and performance.
Steps to Properly Replace Your Drone’s Battery
Attention to detail is critical when approaching the task of replacing your drone’s battery. Not only is it about addressing immediate drone battery issues, but ensuring the longevity and reliability of your drone’s power supply for future flights.
- Inspect your current battery for any signs of damage or wear.
- Consult your drone manufacturer’s guidelines for battery specifications and replacement procedures.
- Purchase a quality, compatible replacement battery from a reputable supplier.
- Charge the new battery fully, utilizing the correct charger and according to specific instructions.
- Install the new battery with care, verifying all connections are secure and properly aligned.
- Perform a short test flight in a controlled environment to ensure optimal battery function.
By following these methodical steps, drone operators can circumvent future power issues, ensuring that their hardware is both efficient and up-to-date. Championing these practices will not only fix drone problems but also instill confidence in pilots as they navigate the sky with assurance in their equipment’s reliability.
Propeller Maintenance for Optimal Flight
In the realm of drone flying, troubleshooting drone glitches often leads back to a key component: the propellers. Ensuring the ongoing drone propeller maintenance is not just about preserving your equipment; it’s about securing the performance and reliability of your flights. Damaged propellers can induce unwelcome vibrations or an alarming cacophony, flagging potential issues that could compromise the stability of your drone mid-air.
To maintain propeller integrity and uphold drone repair tips, it’s imperative to conduct routine checks post-flight. Be vigilant for any signs of damage, such as nicks, cracks, or bends which could impede the propellers’ efficiency. It is just as crucial to make sure that propellers are impeccably clean and secured tightly before taking to the skies.
- Inspect propellers for visible damage or wear.
- Clean off any debris or dust that may have accumulated.
- Ensure propellers are fastened securely to the motors.
- Replace propellers that show signs of damage or significant wear.
Adhering to these steps can help to prevent drone issues related to propellers, ensuring a smoother, more controlled flight experience. Properly maintained propellers are a cornerstone of drone performance and are essential in avoiding unnecessary interruptions to your flight plans.
| Action | Reason | Outcome |
|---|---|---|
| Clean propellers | Remove dust/debris for better efficiency | Smooth operation and flight stability |
| Check for damage | Identify issues causing vibrations or noise | Enhanced safety and performance |
| Secure propellers | Prevent detachment during flight | Reliable and consistent flight experience |
| Replace when needed | Address wear and tear proactively | Maintained flight efficiency and longevity |
To conclude, effective drone propeller upkeep can be the difference between a disrupted flight and a successful mission. Take the time to invest in regular maintenance, and you’ll find your drone is not only more reliable but also delivers consistently high performance.
Troubleshooting and Resetting the Drone Controller
If you’re looking to troubleshoot drone issues related to your controller, there are several steps you can take to solve drone malfunctions. Controllers are the nexus between you and your drone, and a malfunction can lead to a variety of challenges, such as unexpected drone behavior, delayed responses, or even complete loss of control.
Begin by attempting a drone controller reset. This can often clear any error states or misconfigurations. Follow the manufacturer’s instructions carefully to ensure the process is executed correctly. Additionally, inspect the controller’s battery and antenna to verify they are in working order and properly connected, as these can often be culprits of control issues.
- Perform a reset of the controller as outlined in the user manual
- Check battery levels and replace if necessary
- Inspect the antenna for any damage or misalignment
- Calibrate the controller to ensure accurate input and drone response
Part of this troubleshooting should involve ensuring that your flying environment is free from signal interference. Strong Wi-Fi signals, cellular transmitters, and power lines can disrupt the connection between your drone and its controller. Always aim to operate your drone in interference-free spaces.
| Issue | Troubleshooting Step | Note |
|---|---|---|
| Delayed responses | Controller reset | Refer to manual for reset sequence |
| Connection loss | Check antenna and battery | Ensure antenna is intact and battery is charged |
| Erratic behavior | Calibration | Perform calibration in a controlled environment |
| Signal interference | Change location | Avoid Wi-Fi and power lines |
Should these steps fail to resolve the issue, it might be time to consult with the drone manufacturer or a professional repair service. Persistent problems may indicate a deeper issue that requires specialized attention.
Updating Drone Firmware for Improved Performance
Ensuring your drone operates at peak performance often involves the critical step of fixing common drone errors by keeping its firmware up to date. Firmware is the cornerstone of drone functionality, influencing everything from flight stability to responsiveness. To maintain an edge in your drone’s performance and capitalize on the latest enhancements from the manufacturer, regular firmware updates are indispensable.
The Importance of Keeping Your Drone’s Firmware Up to Date
Modern drones are sophisticated pieces of technology that can be significantly improved with software advancements. Firmware updates can deliver solutions to issues that users may encounter, refining the user experience and adding new features that can improve drone performance. Furthermore, these updates often address security vulnerabilities, ensuring that your drone is safeguarded against potential threats.
How to Update Your Drone’s Firmware Safely
To avoid compromising your drone’s operability, it is vital to update drone firmware with caution and precision. The following table guides you through the secure process of updating your drone’s firmware to maintain optimal functionality and performance.
| Step | Description | Tips |
|---|---|---|
| 1. Preparation | Charge your drone and controller to ensure adequate power for the update. | Perform updates with a full battery to prevent disruptions. |
| 2. Back-up | Save your drone’s settings and data before starting the update. | Use a microSD card or companion app to safeguard your configurations. |
| 3. Download | Get the latest firmware version from the drone manufacturer’s website or app. | Always use the official source for downloading firmware. |
| 4. Installation | Connect the drone to your computer or smartphone and begin the update process. | Follow the manufacturer’s instructions carefully to avoid errors. |
| 5. Finalization | Confirm the update completion and verify the firmware version on your drone. | Check for confirmation messages or indicators that signal a successful update. |
By adhering to this update protocol, drone enthusiasts and professionals alike can ensure their machines are not only void of common glitches but are also primed with the latest firmware, leading to a superior, efficient flying experience. Remember, keeping firmware current is an ongoing task, central to the modern drone upkeep.
Repairing Common Drone Issues
When it comes to drone troubleshooting, pilots face a variety of challenges that range from minor annoyances to major operational malfunctions. While many issues can be solved through basic maintenance and care, certain problems may signal the need for professional intervention. Knowing when to seek assistance from a qualified technician or the manufacturer is a significant aspect of drone repair tips. Whether it’s a motor failure, an unresponsive camera, or a gimbal that refuses to stabilize, fixing common drone errors might require a sophisticated touch beyond the average user’s capability.
Utilizing warranty services or insurance can be a financial lifesaver for drone operators facing expensive repairs. Many manufacturers offer warranties that cover a host of potential issues, providing peace of mind and cost-effective solutions. Here are several instances where opting for professional drone repair services is not only advised, but necessary:
- Persistent error messages that don’t resolve after standard troubleshooting measures.
- Physical damage resulting from crashes or impacts, affecting sensitive internal components.
- Evidence of electrical issues, such as smoke or a burning smell indicating a possible short circuit within the drone’s system.
- Software glitches that prevent firmware updates or cause erratic drone behavior during flight.
If your drone is exhibiting any of these symptoms, it is often wiser to hand it over to those who have the expertise in handling such complex electronics. Remember, incorrect handling during DIY repairs can often lead to more significant problems or void any existing warranties. Ensuring your drone is professionally assessed and repaired can help maintain its performance and longevity, keeping it airborne for many flights to come.
When to Seek Professional Drone Repair Services
For drone enthusiasts and professionals alike, encountering technical difficulties can be a significant setback. While some minor issues can be resolved with at-home drone troubleshooting assistance, there are situations where only professional drone repair services can fix drone problems effectively and safely. Understanding when to delegate repairs to experts is crucial in maintaining drone performance and longevity.
Challenges such as intricate electrical malfunctions or software glitches, which often prove to be complex for the average user, call for a specialized touch. If you’ve exhausted all troubleshooting guides and your drone still experiences persistent operational issues, it’s time to seek help from certified technicians.
By turning to authorized repair centers, you benefit from the assurance that your device will be handled with both proficiency and care. Here’s a quick checklist to help you determine when professional services are the best course of action:
- Consistent performance issues despite basic troubleshooting attempts
- The drone has physical damage after a crash, such as bent frames or broken components
- Internal components need replacing, which often requires specialized equipment
- There are signs of firmware corruption or failure that hinders the drone’s functions
Professional repair services not only address the immediate problem at hand but also conduct comprehensive diagnostics to prevent future issues. Taking advantage of such expertise can save time and additional costs in the long run.
| Repair Needs | DIY Troubleshooting | Professional Service |
|---|---|---|
| Software Updates | Possible with manufacturer’s guidance | Recommended for complex updates or issues post-update |
| Replacement of Internal Components | Limited to user-friendly parts | Essential for deep-seated components |
| Calibration and Alignment Issues | Basic calibration possible for some models | Advanced tools required for precision |
| Physical Damage | Minor external repairs feasible | Complex damage needs professional assessment |
In conclusion, for intricate problems that persist beyond your skillset, engage with professionals to return your drone to its optimal state. They have the capability to fix drone problems with precision, ensuring you get back to the skies with confidence.
Proactive Drone Maintenance to Prevent Common Issues
Preserving the integrity of a drone goes beyond reactive measures and occasional troubleshooting. Embracing proactive drone maintenance routines is instrumental in extending the lifespan of your drone and ensuring that it performs optimally on every flight. By dedicating time to regular inspections and adhering to recommended maintenance practices, drone enthusiasts can significantly prevent drone issues from arising. This commitment not only enhances flight safety and reliability but also safeguards against unforeseen expenses due to premature wear or damage.
Regular Inspection Routines for Your Drone
Implementing a systematic inspection routine is a fundamental aspect of drone care. After each flight, taking the time to examine your drone for signs of wear or damage can be the difference between safe flights and potential mishaps. Checking propeller integrity, ensuring that the motors are free of debris, and verifying that all electronic connections are secure, are key steps that should never be bypassed. These measures, simple as they may seem, are crucial for identifying small issues before they escalate into larger, costly problems.
Critical Maintenance Practices for Long-Term Drone Health
Alongside regular inspections, maintaining the drone’s firmware update schedule and ensuring batteries are charged and stored correctly contribute to its long-term health. Keeping the lens clean and free from obstructions enhances image quality and prevents malfunction. Proactive care includes understanding how environmental conditions such as temperature and humidity can affect drone components and storage. By following these critical maintenance practices, drone operators can maintain their UAV’s performance and reliability while avoiding unnecessary downtime due to repairs.
FAQ
How can I troubleshoot and fix common drone problems?
To troubleshoot and fix common drone issues, begin by assessing the symptoms and consulting the user manual for specific instructions. Issues can often be resolved by performing routine checks such as verifying the battery charge, ensuring propellers are intact and properly installed, resetting the drone controller, updating the firmware, and checking for signal interference. If problems persist, seek professional repair services.
What are some essential drone repair tips?
Understand the core components of your drone, regularly update firmware, and conduct consistent maintenance checks. Keep the drone clean and inspect the propellers, batteries, and controller for damage or wear. Replace parts as necessary using only manufacturer specified components to maintain proper functionality.
What signs indicate a failing drone battery, and how do I replace it?
Signs of a failing drone battery include reduced flight times, power fluctuations, and an inability to hold a charge. Swollen or physically damaged batteries should be replaced immediately. To replace the drone battery, consult the manufacturer’s guidelines for proper battery type and replacement procedures, ensure the drone is turned off, and install the new battery securely.
How should I maintain my drone’s propellers for optimal flight?
Maintain your drone’s propellers by regularly cleaning them and checking for any signs of damage like nicks, cracks, or warps. If you notice any irregularities, replace the propellers before flying. Ensure they are correctly attached and securely fastened to prevent instability or accidents during flight.
What steps should I take if my drone controller is not responding correctly?
If your drone controller is unresponsive, start by resetting the controller and checking the battery and connection cables. Calibrate the controller following the manufacturer’s instructions and avoid areas with potential signal interference like dense Wi-Fi networks or towering structures. If issues continue, the controller may need to be repaired or replaced.
Why is it important to keep my drone’s firmware up to date?
Keeping your drone’s firmware up to date is crucial because it can resolve known bugs, enhance flight performance, and introduce new features. Regular updates ensure your drone operates smoothly and is compatible with the latest hardware and software enhancements provided by the manufacturer.
How can I safely update my drone’s firmware?
To safely update your drone’s firmware, connect your drone to your computer or use the manufacturer’s app. Ensure your drone’s battery is fully charged, follow the provided step-by-step instructions, and avoid interrupting the process to prevent potential issues. Always back up important data before starting the update.
When should I seek professional drone repair services?
Seek professional drone repair services when you encounter complex issues that are beyond your technical expertise, such as internal electronic failures, motor problems, or when calibration fails. Also, if your drone is under warranty or insured, professional repairs may be covered, which can save on costs.
What are some proactive drone maintenance practices to prevent common issues?
Proactive drone maintenance includes regular inspections post-flight, cleaning dust and debris from moving parts, ensuring firmware is up to date, storing the drone in a safe and temperature-controlled environment, and handling batteries with care. It’s also essential to follow the manufacturer’s guidelines for care and storage to prevent environmental damage.
Leave a Reply