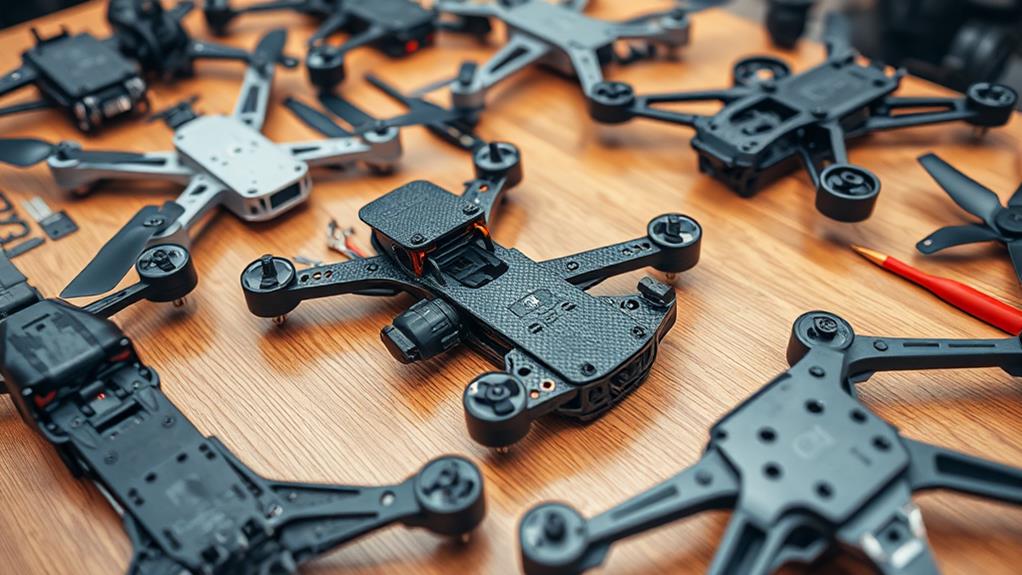
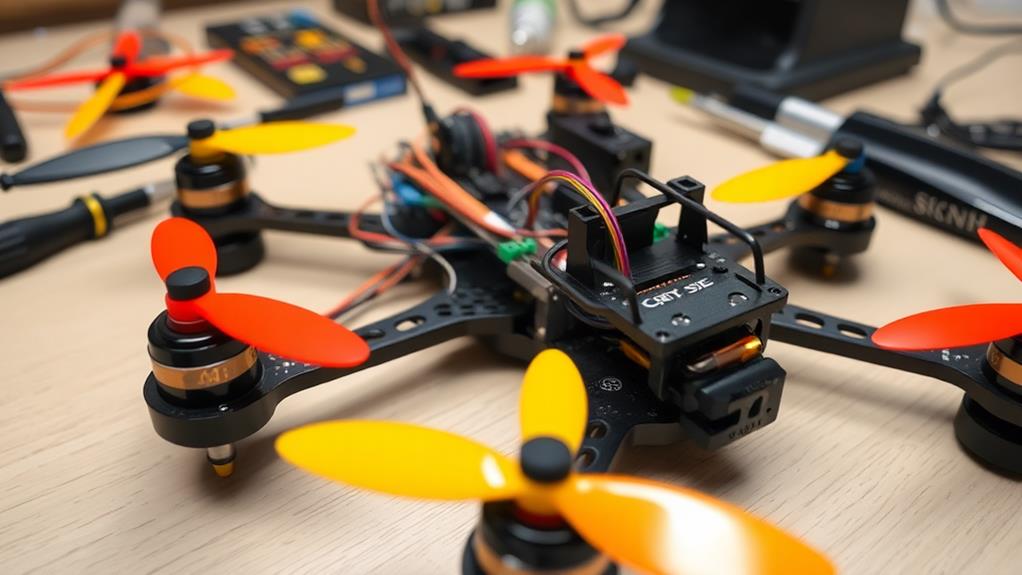
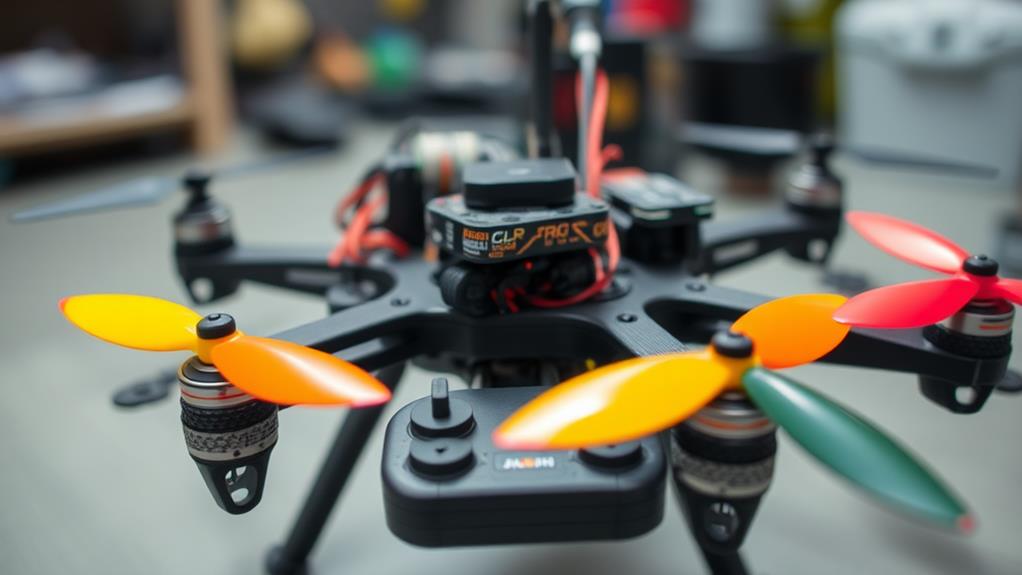
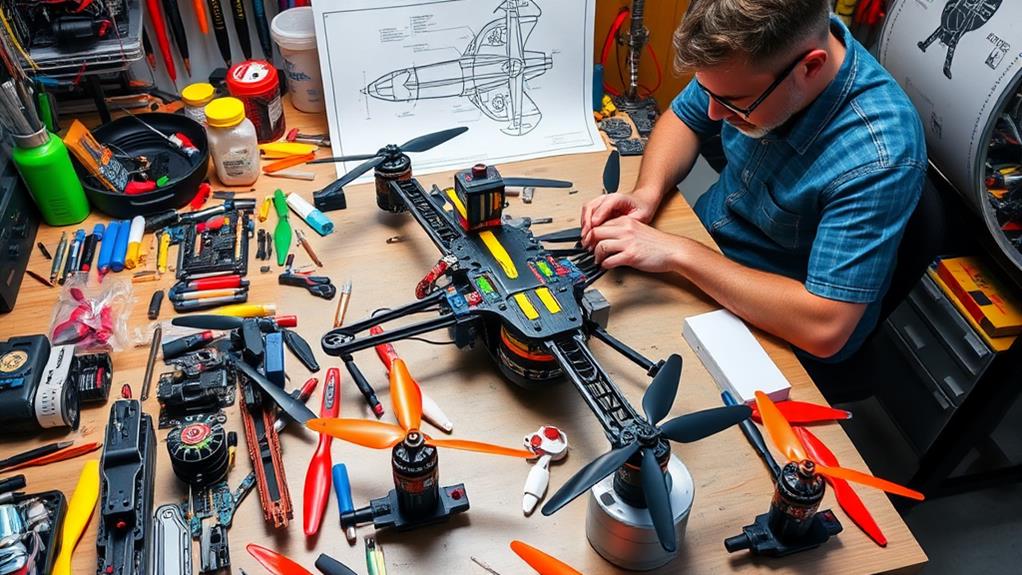
To build a racing drone, you'll first choose a sturdy, lightweight frame like the TBS Source One V5, guaranteeing it's easy to work with. Next, gather essential components including a reliable flight controller, high-performance motors, quality propellers, and a dependable battery. Assemble the drone by securely attaching each component, using tools like a soldering iron and hex drivers. Properly wire the electronics, guaranteeing correct connections for the ESCs and flight controller. After setting up the flight configuration, test everything meticulously. Finally, conduct a pre-flight check to guarantee all components function correctly for a successful first flight. More details await your exploration.
Choosing the Right Frame

When it comes to choosing the right racing drone frame, you'll want to focus on key factors that impact performance. One notable aspect is the size; 5-inch frames are popular for racing because they strike a balance between speed and agility.
Additionally, understanding the importance of frame weight and rigidity can help you optimize your drone's performance during races, as a well-balanced frame enhances overall stability and control. You'll also want to take into account the material of the frame. Carbon fiber frames are lightweight and incredibly durable, making them ideal for high-speed racing and resilient against crashes.
Another vital factor is the frame design. Opt for a design that allows easy access to components, as this simplifies repairs and upgrades after races. If you crash, you'll appreciate a frame that's straightforward to work on.
Community support and the availability of replacement parts play an essential role in your decision. Popular models, like the TBS Source One V5, offer extensive resources and parts, ensuring you can keep your drone in top condition.
Furthermore, choosing a frame that aligns with your skill level, as indicated in categories of racing drones, can greatly enhance your racing experience.
Lastly, pay attention to the frame's weight and aerodynamics; a well-designed frame can greatly enhance flight performance and responsiveness during races. By evaluating these factors, you'll be well on your way to selecting the perfect drone frame for your racing adventures.
Essential Components Overview
Building a racing drone requires a careful selection of essential components that work together to deliver speed, agility, and reliability. First, you'll need a sturdy frame, like the TBS Source One V5, which is affordable and well-supported by the community.
Understanding the role of each part in overall drone functionality is vital for effective customization. Next, the flight controller is critical; consider the Speedybee F405 V3 paired with a BLS 50A 4in1 ESC for easy assembly and dependable performance.
You then need high-performance motors, such as the iFlight Xing2 2207 1855KV, to guarantee your drone zips through the air. Match these motors with quality propellers, like HQ propellers, to maximize efficiency and control.
A reliable battery is also essential, as it powers your drone and influences flight time and performance.
Don't forget the FPV camera and video transmitter (VTX) for real-time viewing; these components enhance your racing experience.
Finally, a compatible receiver, such as the Radiomaster RP1, establishes a solid communication link between your drone and your transmitter.
Assembly Process

To get started with the assembly process of your racing drone, you'll need a few essential tools to make everything run smoothly.
With a step-by-step assembly guide in hand, you'll find it easier to attach each component, from the frame to the motors and beyond.
Let's break down the process to guarantee your drone is built for both speed and performance.
Essential Tools Required
Gathering the right tools is essential for a successful assembly of your racing drone. Start with a high-quality soldering iron (50-60W) to make precise connections for your motor wires and ESC boards. This tool helps you create secure joints that are vital for performance. Additionally, having a solid understanding of drone assembly tips will enhance your building experience.
Next, wire cutters and strippers are necessary for preparing your wires; they enable you to make flush cuts and strip insulation efficiently. Hex drivers are also important for securing various components, such as the frame and motors, ensuring a stable build.
To improve your efficiency while soldering, consider using helping hands or a soldering pad, which stabilize components and reduce the risk of burns or mistakes. A multimeter is essential for checking continuity and identifying shorts in your wiring before powering up your drone for the first time. This step helps you avoid voltage spikes that could damage your components.
Step-by-Step Assembly Guide
Assembling your racing drone can be an exhilarating process that requires attention to detail and methodical steps. Start by preparing the frame; attach the arms and secure the bottom layer hardware, ensuring all components fit correctly for structural integrity.
Next, mount the motors by carefully feeding the motor wires through heat shrink tubing and securing them to the frame.
Once the motors are in place, assemble the ESC and flight controller stack. Make sure to leave proper spacing to avoid contact with the frame, while organizing the motor wires for a neat appearance. This step is essential for maintaining airflow and preventing overheating.
After that, connect the receiver using compatible wiring. Typically, you'll connect 5V, Ground, SBUS_OUT, and S.Port according to your flight controller's manual.
Wiring and Electronics Setup
Starting the wiring and electronics setup for your racing drone requires careful attention to detail.
Begin by soldering the ESCs to the motors, ensuring each motor wire connects correctly to its corresponding ESC pad. This keeps your setup clean and efficient.
Next, use a flight controller pinout diagram to connect the camera, VTX, and receiver to the flight controller. Each of these connections requires three points: 5V, Ground, and Signal.
When you're ready to connect the XT60 connectors, strip about 3-5 mm of insulation from the wire ends, then tin the wires. Be sure to mark the polarity correctly to avoid any short circuits.
Before powering up your drone, always test for continuity and shorts with a multimeter. This step is vital to prevent potential damage during the initial power-on.
Flight Configuration

Now that your wiring is set, it's time to focus on flight configuration.
Start with the receiver binding process, which connects your transmitter to the drone for seamless control.
Then, adjust the VTX power settings to balance range and heat output, ensuring your drone performs at its best during those adrenaline-pumping races.
Receiver Binding Process
Binding your receiver to the transmitter is a critical step in configuring your racing drone for flight.
To start the binding process, make sure your transmitter is in bind mode before powering on the receiver. This allows the two devices to communicate effectively. Once you're ready, power on the receiver and press the bind button for 3-4 seconds. This action initiates the connection.
After binding, check the receiver's LED indicator. A solid light typically means you've established a successful connection, while a blinking light indicates an unsuccessful bind. If you're using FrSky receivers, be certain to connect the S.BUS wire to the appropriate pin on the flight controller to guarantee proper signal transmission.
Once the binding is complete, it's essential to test the control range. Move the sticks on your transmitter and verify that the drone responds accurately to your inputs. This step is fundamental to confirm that your racing drone behaves as expected during flight.
VTX Power Configuration
Once your receiver is bound to the transmitter, you'll need to configure the VTX (Video Transmitter) power settings for peak performance. The VTX power levels are adjustable, typically ranging from 25mW to 800mW.
For racing drones, it's important to find a balance between signal strength and heat output. If you're flying short distances, setting the power level to 200mW is often ideal. This will help maintain a strong signal while minimizing excess heat.
To configure these settings, use Betaflight software. This guarantees that the output matches your intended flight scenario and abides by local regulations. Your VTX should be connected to the flight controller and powered through dedicated solder pads on the Power Distribution Board (PDB).
Monitoring the VTX temperature during flight is essential, especially at higher power levels, as excessive heat can cause signal loss or damage the transmitter.
Adjust your VTX configuration based on your flying environment, keeping in mind the importance of reliable signal strength and thermal management to enhance your racing experience. Proper VTX setup will directly impact your performance and enjoyment while flying.
Testing and First Flight
Testing your racing drone is a crucial step that can make or break your flying experience. Before you power up, inspect all solder joints and connections carefully. Use a multimeter to verify there are no shorts, as these can lead to serious issues. When you're ready, plug in the LiPo battery cautiously, and watch for any signs of overheating or smoke.
Next, check the functionality by observing the flight controller. It should beep and the LEDs should blink, indicating a successful power-up. For the first flight, practice arming and disarming the drone multiple times to get familiar with the process. Start by gradually increasing the throttle until you achieve a stable hover.
During this initial testing phase, keep a record of any issues you encounter. This documentation will be invaluable for troubleshooting future flights, helping you refine your drone's performance and reliability.
Conclusion
To sum up, building a racing drone isn't just a hobby; it's a masterclass in engineering, patience, and, let's be honest, the art of not losing your sanity. By carefully choosing your frame, components, and following the assembly process, you'll be ready for takeoff in no time. Just remember, once you've conquered the skies, you can finally claim that you've upgraded from playing with toy planes to piloting your very own aerial race car—complete with all the thrills and slightly less risk of crashing into your neighbor's garden.

Leave a Reply